사용 라이브러리
"@prisma/client": "^5.4.1",
"prisma": "^5.4.1",
prisma란?
prisma는 orm의 일종으로, 프로젝트 내의 schema를 하나의 파일에서 관리할 수 있도록 도와준다.
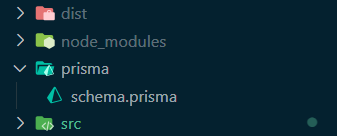
prisma를 도입한 프로젝트의 파일 구조인데, prisma 디렉터리 안에 schema 파일에서 모든 스키마를 관리할 수 있게 된다.
프로젝트에 prisma 추가하기
yarn add prisma
npx prisma init
위 두 가지 명령어를 입력하면 프로젝트에 prisma 폴더 및 schema 파일이 추가된다.
추가로 .env파일도 생성되는데, 이 파일에서 DATABASE_URL 환경변수를 본인의 DB와 연결해주면 된다.
새 스키마를 작성하기 위해 prisma/schema.prisma 파일을 수정한다.
// This is your Prisma schema file,
// learn more about it in the docs: https://pris.ly/d/prisma-schema

generator client {
  provider = "prisma-client-js"
  binaryTargets = ["native", "linux-musl"]
}

datasource db {
  provider = "postgresql"
  url      = env("DATABASE_URL")
}

model User {
  id String @id @default(uuid()) @unique()
  password String
}
작성을 마쳤으면 DB에 반영하는 과정을 거쳐야한다.
보통 orm은 이를 migrate라고 하는데, prisma는 push/pull이라는 하나의 명령어가 더 있다.
npx prisma migrate dev [message]migrate 명령어를 사용하면 가장 최근에 생성된 migrate 파일을 사용해 DB에 스키마를 반영한다.
생성된 파일이 없을경우 새로 생성한다.
npx prisma migrate dev --name [message] --create-onlyDB에 반영하지 않고 migrate 파일만 생성하려면 위 명령어를 사용한다.
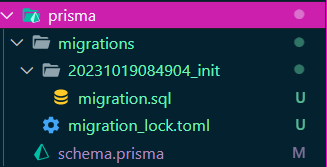
migration 파일은 prisma 폴더 아래에 생성되며, 최종적으로 아래와 같은 파일구조를 형성한다.
만약 DB 데이터를 유지하면서 schema 수정사항을 적용하고 싶다면, 다음 명령어를 사용할 수 있다.
npx prisma db pushschema 수정사항을 반영할 때, migrate는 db 내부의 데이터를 삭제하고 push는 db 내부의 데이터를 유지한 채 업데이트 시킨다. 만약 push시 데이터를 유지할 수 없을 경우, 오류난다. (참조)
즉 mirgate dev는 주로 개발 환경에, push는 production 환경에 사용하기 적합하다.
npx prisma migrate reset
db를 초기화 하고싶을때 사용한다.
prisma client 사용하기
schema를 성공적으로 생성했으니 실제로 테이블을 조작하는 방법을 알아보자.
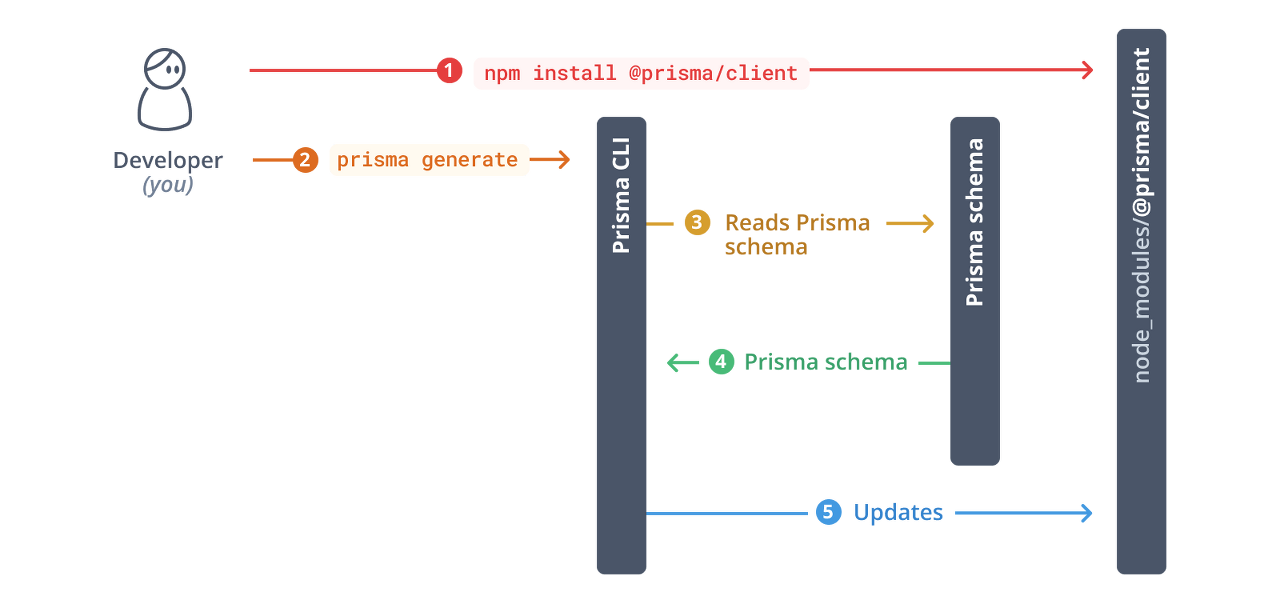
npm install @prisma/client
npx prisma generate
두번째 명령어를 실행하면 현재 있는 schema 파일을 client에 반영한다.
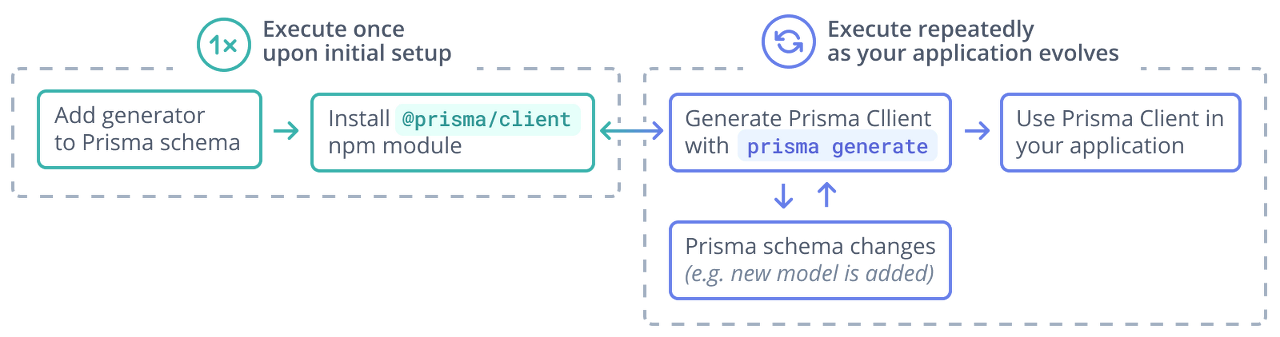
위 이미지에서 볼 수 있듯, 스키마가 수정될 때 마다 generate를 실행해 주어야 한다.
prisma의 공식 docs에선 prismaClient를 인스턴스화 해서 DB에 연결할 것을 권장하고 있으니, 이대로 구현한다.
먼저 PrismaService를 생성한 뒤 내보내기 해준다.
import { Injectable, OnModuleDestroy, OnModuleInit } from '@nestjs/common';
import { PrismaClient } from '@prisma/client';

@Injectable()
export class PrismaService
  extends PrismaClient
  implements OnModuleInit, OnModuleDestroy
{
  async onModuleDestroy() {
    await this.$disconnect;
  }
  async onModuleInit() {
    await this.$connect;
  }
}
import { Module } from '@nestjs/common';
import { PrismaService } from './prisma.service';
@Module({
providers: [PrismaService],
exports: [PrismaService],
})
export class PrismaModule {}이제 사용할 모듈에서 의존성을 주입해 사용할 수 있다.
@Injectable()
export class UserService {
  constructor(private prisma: PrismaService) {}

  async Crete(data: User) {
    return await this.prisma.user.create({
      data: {
        ...data,
      },
    });
  }

  async Read() {
    return await this.prisma.user.findMany();
  }

  async ReadSpecific(userIdx: string) {
    return await this.prisma.user.findUnique({
      where: { id: userIdx },
    });
  }

  async Update(userIdx: string, data) {
    return await this.prisma.user.update({
      where: {
        id: userIdx,
      },
      data: {
        ...data,
      },
    });
  }
}'개발 > 백엔드' 카테고리의 다른 글
| [nodejs]nodejs에서 webassembly로 빌드된 모듈을 이용했을 때의 성능개선 (0) | 2024.11.05 |
|---|---|
| [nestjs] AWS S3를 이용한 이미지 업로드 (0) | 2024.05.21 |
| [nestjs] postgresql을 이용한 crud 구현 (0) | 2023.08.23 |
| [nestjs] 로그인과 권한 부여 (0) | 2021.12.20 |
| [nestjs] socket.io 사용과 테스트 (0) | 2021.11.01 |
